Royal Icing

This is a really simple royal icing recipe that will give you a TON of icing. This is great for if you have multiple colors you need to work with. In this tutorial, I’ll teach you how I make such a huge batch and how I ‘package’ them before putting them into the piping bag for an easy, mess-free clean up. Without this hack, I don’t think I would ever want to make this frosting just because it’s so dang sticky.

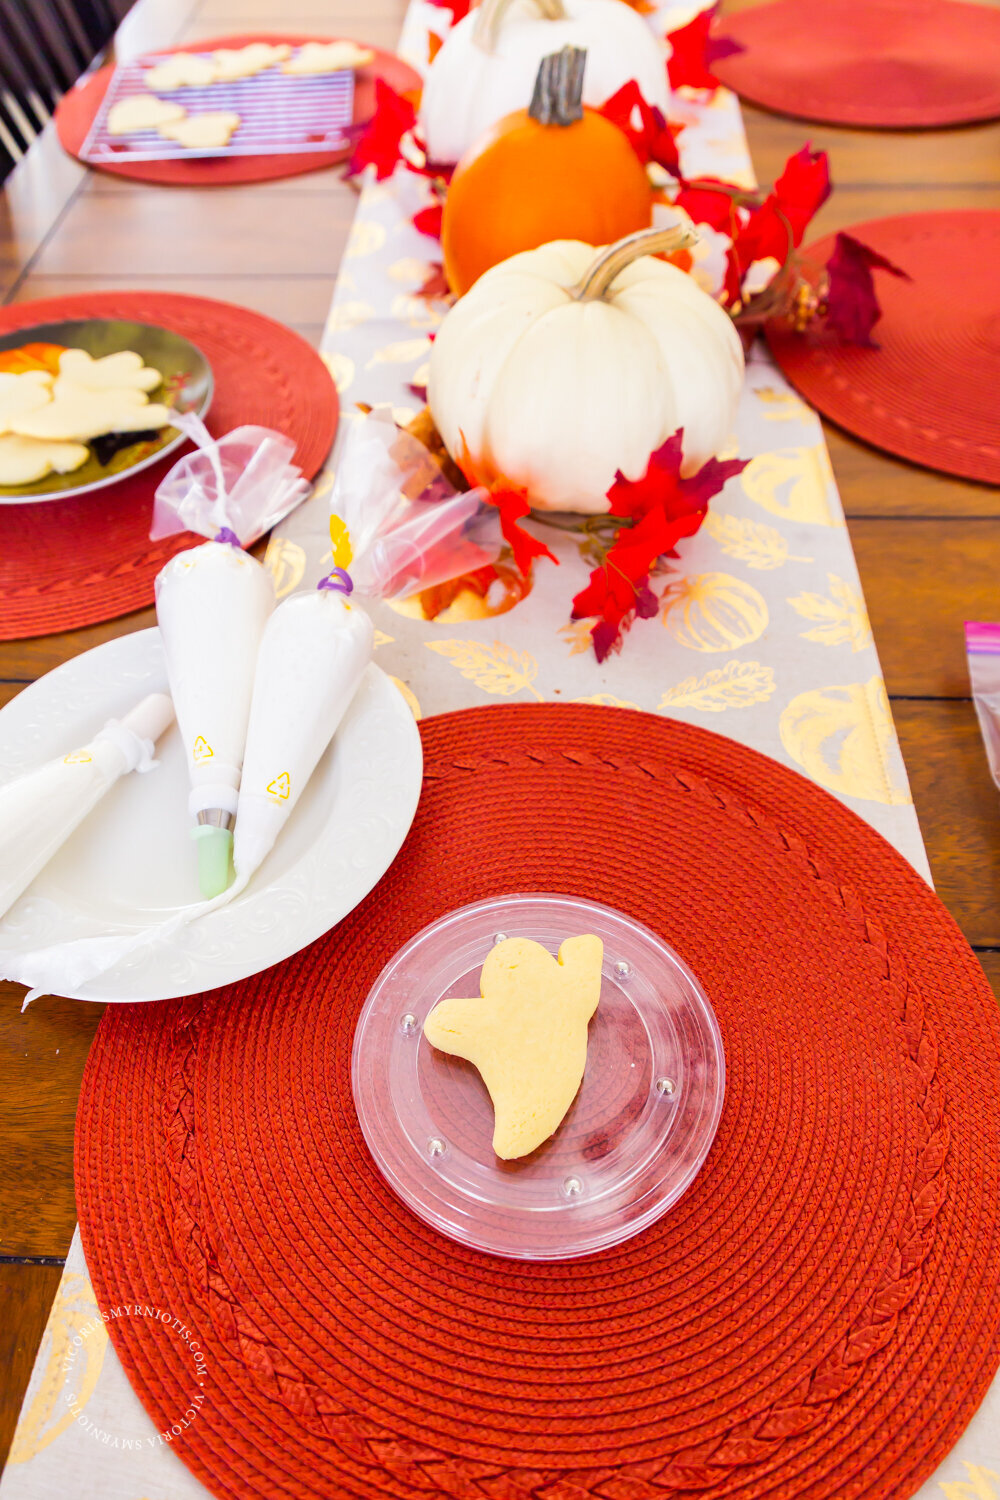
*Tips before you start: always have some damp paper towels handy for sopping up any rogue frosting. Put your frosting bags on their own designated plate. Invest in toppers for your piping bags to prevent the frosting from spilling out of them when not in use. And of course, have fun! No matter how your cookie turns out, they will be delicious!
INGREDIENTS
4 lb Powdered Sugar (2 bags)
3/4 Cup Meringue Powder
2 Tbsp Vanilla Extract (Or desired flavor)
1.5 Cups Warm Filtered Water
OTHER SUPPLIES NEEDED
Piping Couplers
Piping Tips: No. 1, No. 3, No. 5
Piping Bags
Piping Tip Covers
Rubberbands
Baking Spatula
Press n Seal or Saran Wrap
Bowls
Scissors
Frosting rotating plate (Optional)
KitchenAid Mixer Or a Handheld Mixer will work

DIRECTIONS
In a large bowl or your kitchen aid mixer bowl, carefully empty your powdered sugar and meringue powder. In a measuring cup, combine the warm water and the vanilla extract. Carefully pour this mixture on top of your powdered sugar.
If you are mixing with a KitchenAid: use their topper to help with the powdered sugar mess. Mix on low for 5 minutes. Then mix on high for 5 minutes.
After the ten minutes are done, check the texture with a fork by poking the top of the icing. If stiff peeks form and stay stiff, your icing is done. If the peeks fall a little, mix on high for another minute, then an additional 30 seconds at a time from then until you get the consistency of thick toothpaste.
This is your piping icing! This is what you’ll use to create the outline of the shape you want to fill with your flood icing. You can make your flood icing from this exact same batch of icing you’ve just created.

MIXING YOUR FLOOD ICING
In a clean bowl, transfer a few scoops of your piping frosting and start mixing it with a baking spatula. You’ll be doing this with each color you need. With clean hands, drop a few drops of filtered water into your bowl at a time. I like to splash a little from my faucet as I mix. Doing it this way, my frosting gets to the right consistency after maybe 10-15 splashes or ‘drops’. Go slowly. If it gets too runny, it’s very hard to go back.

You want your frosting to be the same consistency of shampoo or pancake batter. When you dip your baking spatula into your bowl and let the frosting slip off of it, you want the frosting to fall off smoothly like in the photo above.

THE PIPING BAG HACK
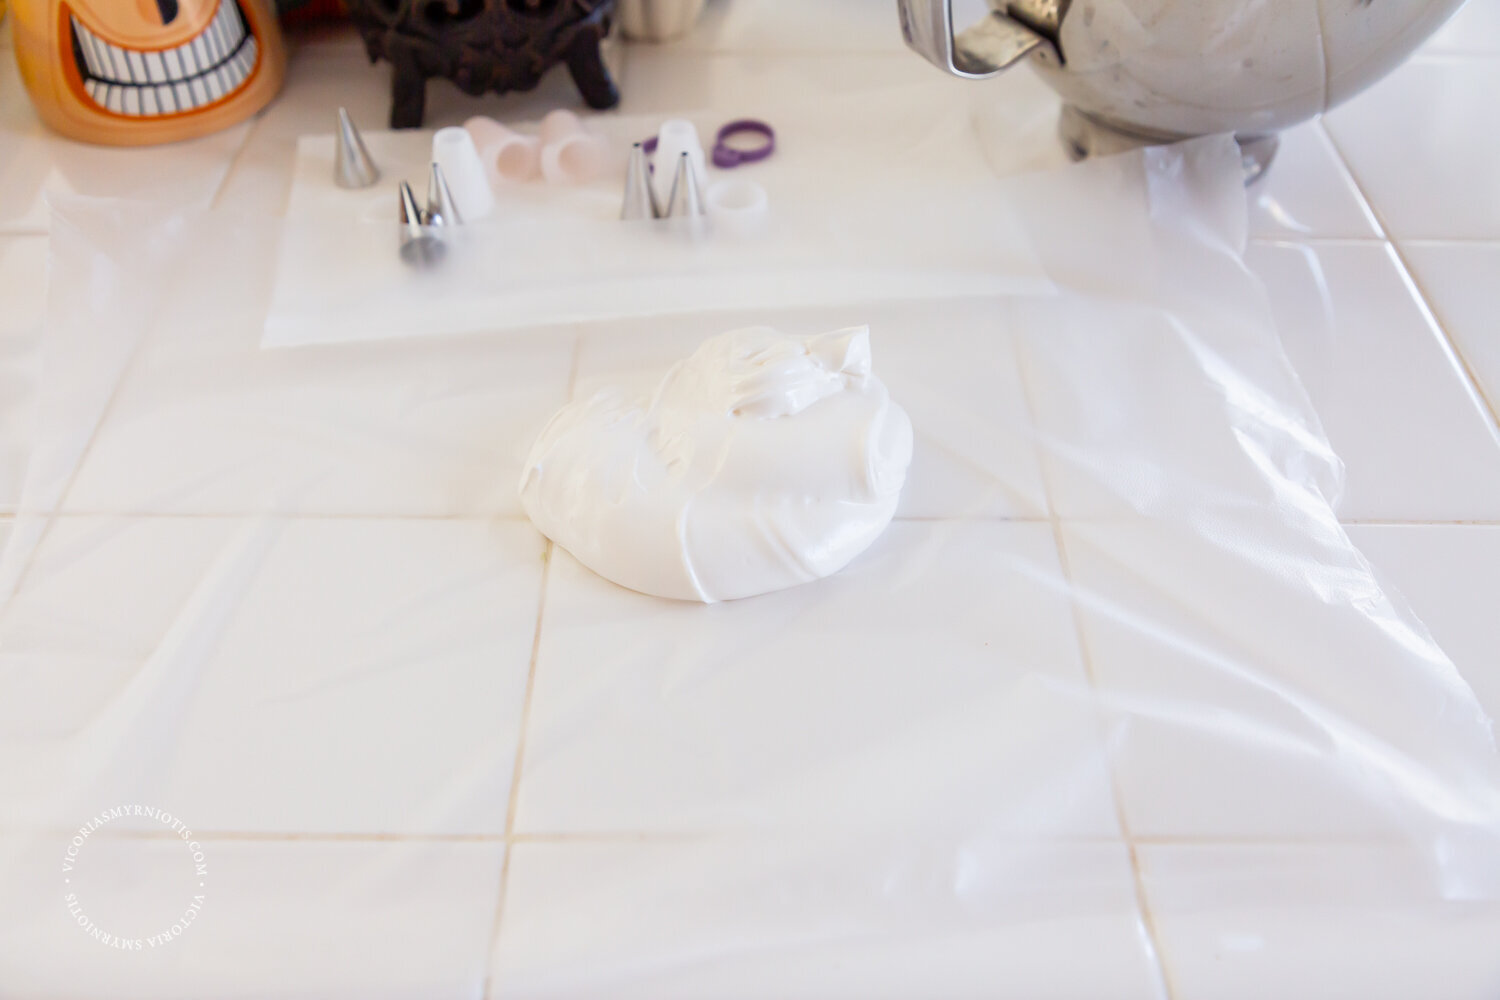
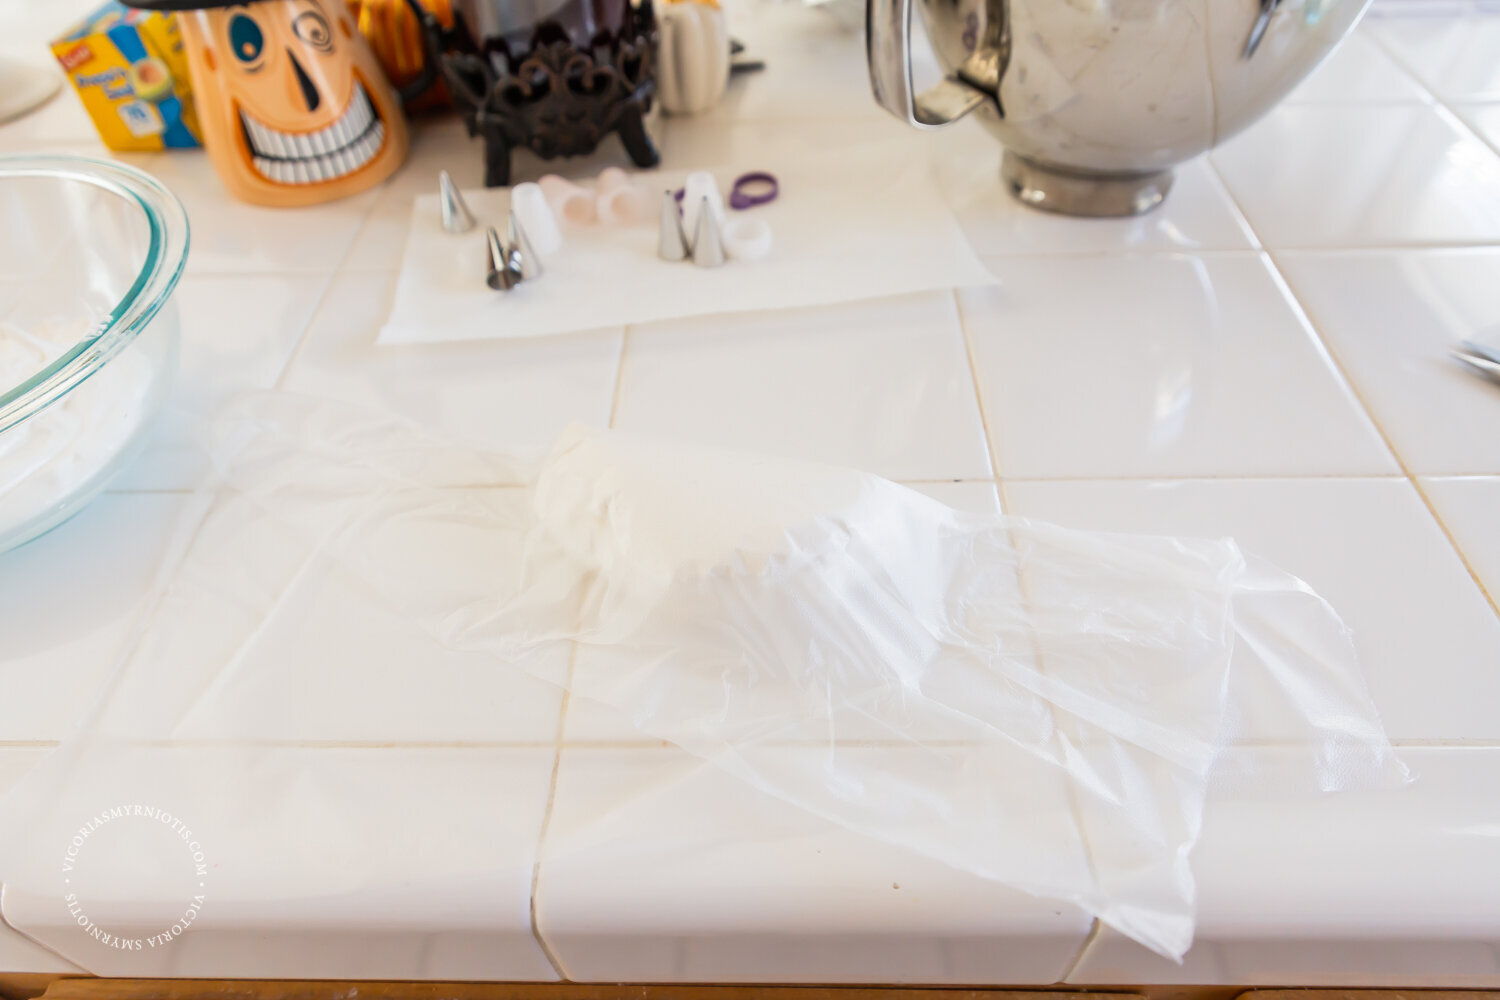
Ok, this is the best part! This is where your Saran Wrap or Press n Seal comes into play. For each color and each type of frosting, you’ll package it onto the Saran Wrap, ‘seal’ it together, and then drop it into your piping bag.
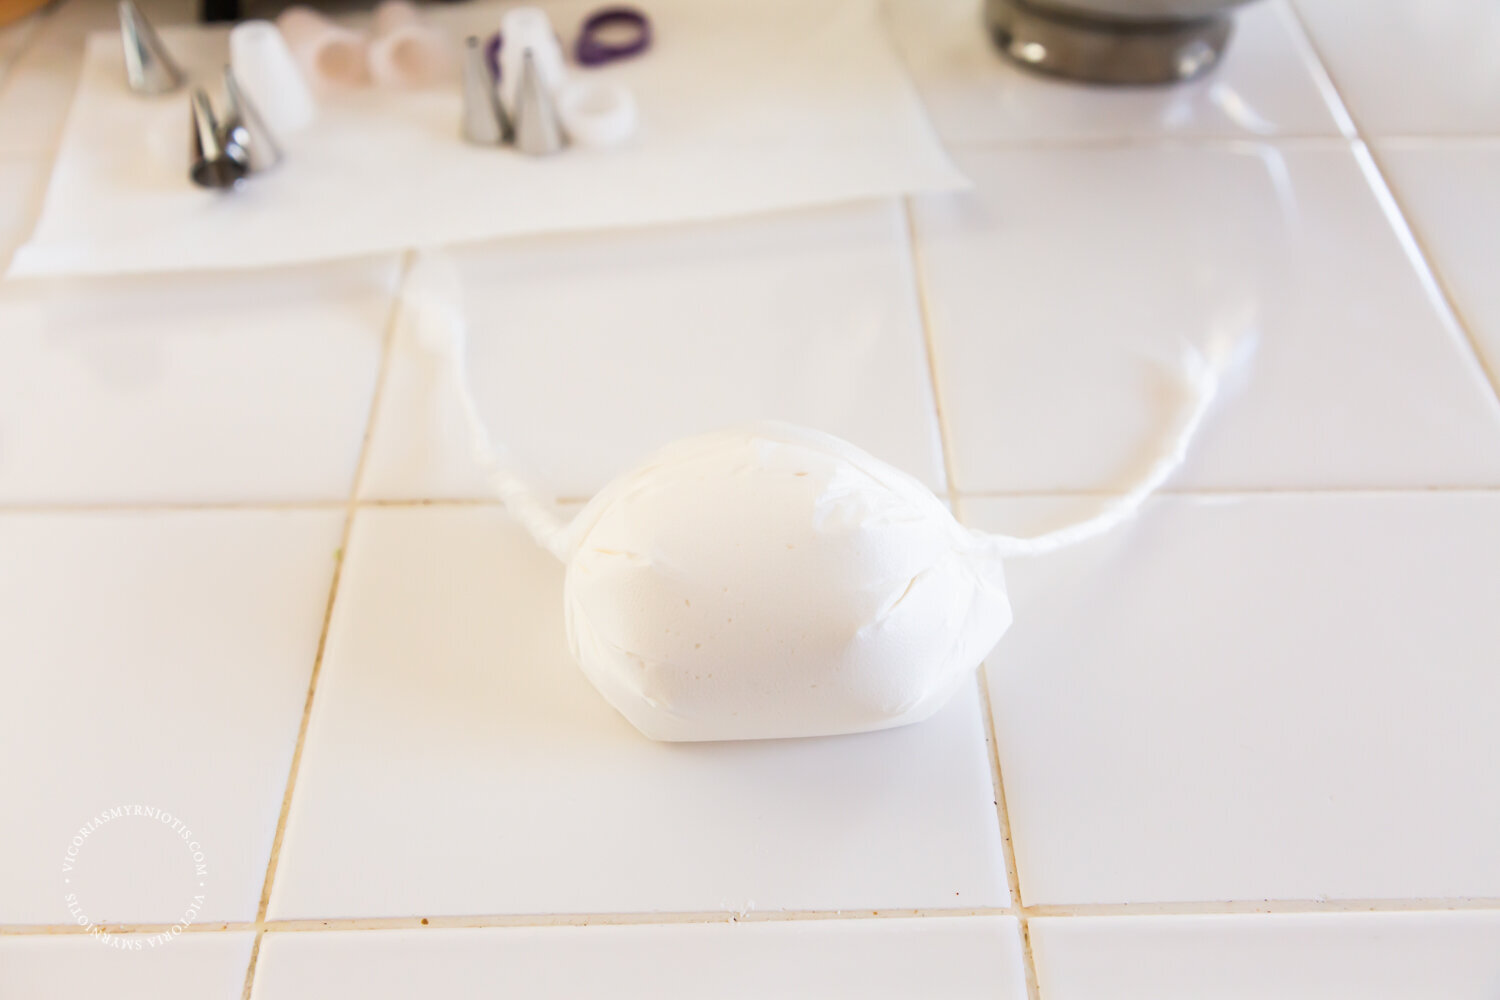
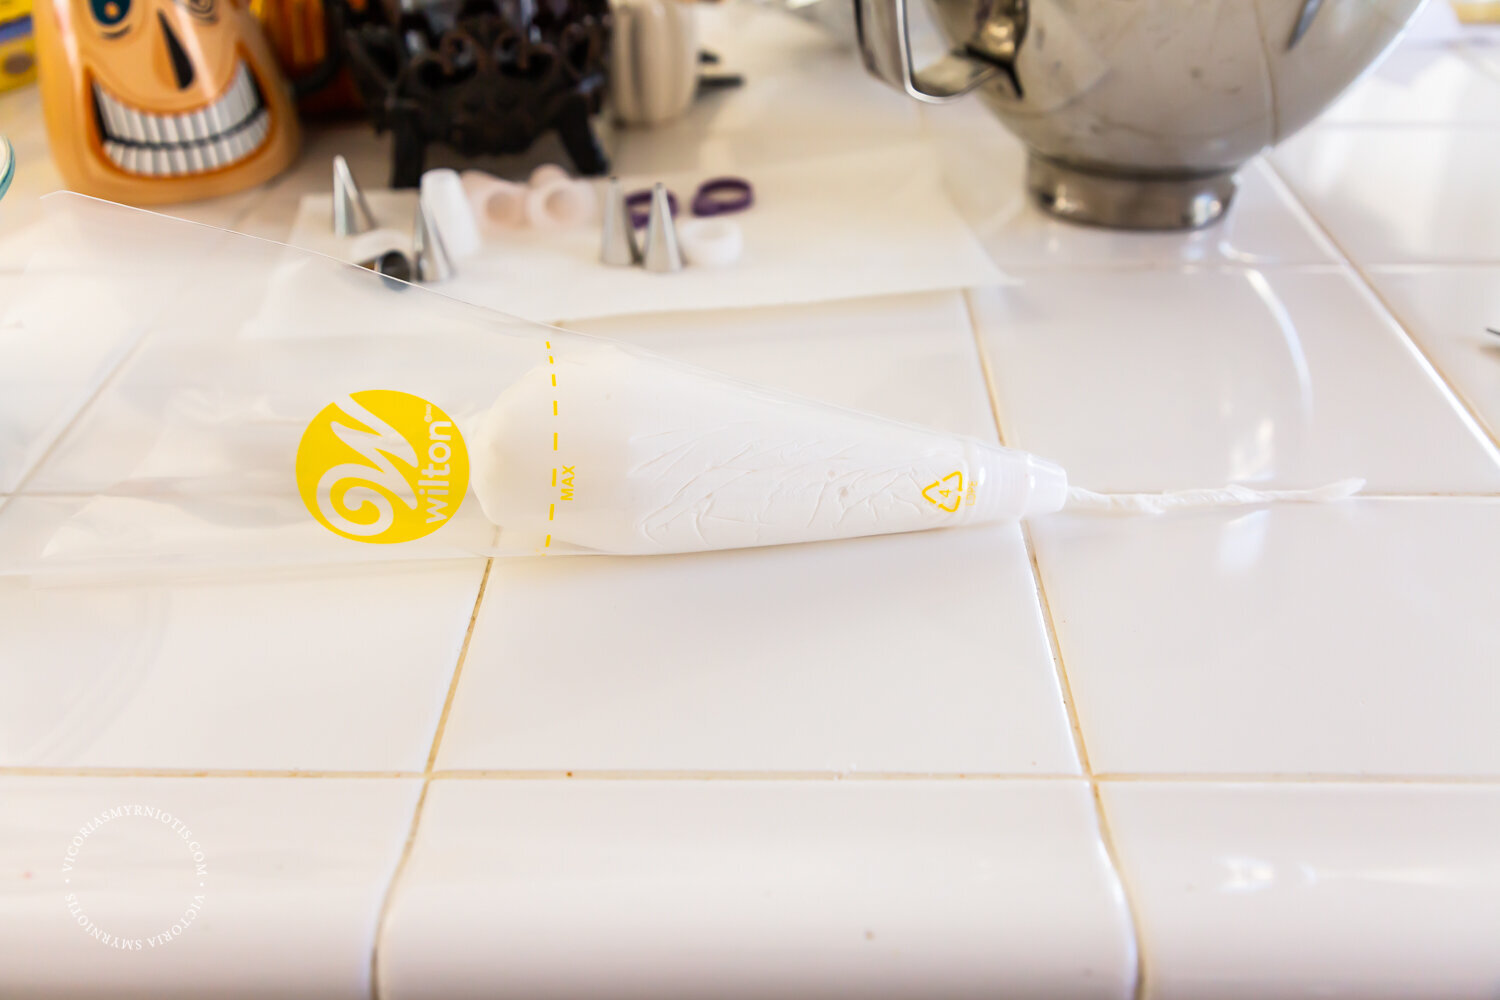
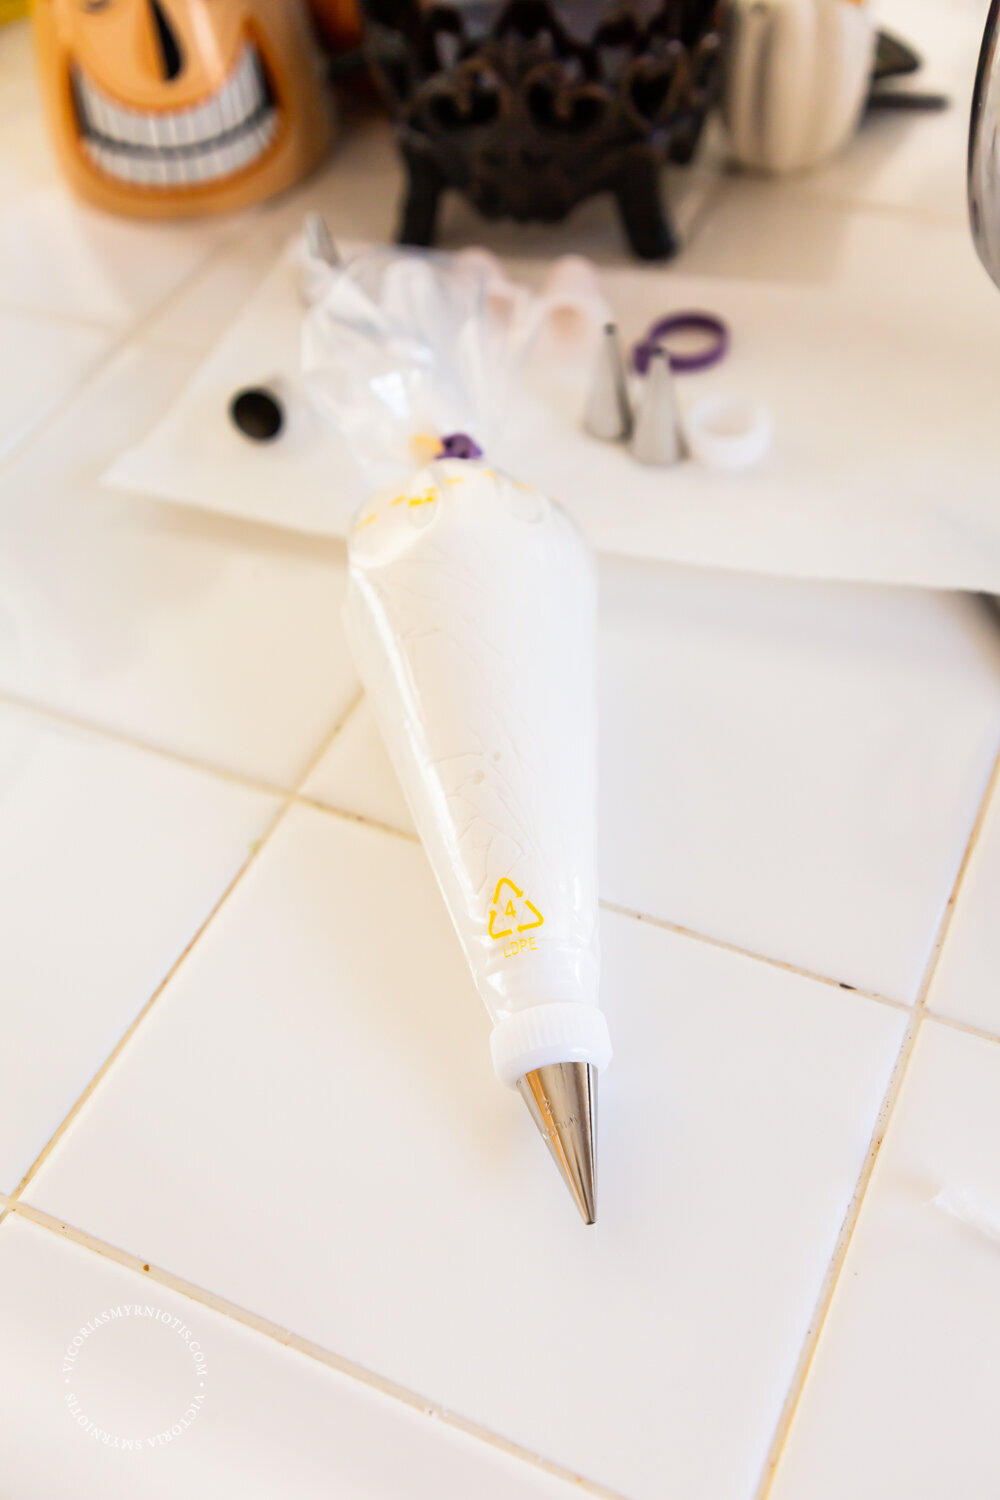
It’s hard to explain, so follow the photos below. You’ll use a sheet of Saran Wrap, put a dollop of frosting in the center, seal it so that there are two ends on either side of it, then swing the frosting away from you over and over until the two ends are twisted ropes (but careful! If the frosting is not entirely sealed in the Saran Wrap, it will spill everywhere.). You’ll then drop this inside a piping bag, feeding the rope through the nozzle for a mess-free frosting hack. I hope that makes sense!
WHAT NOZZLES TO USE
This is all a matter of preference. In my experience, I love using the number 3 for piping because it’s delicate enough that the line won’t be too thick, but it’s also not too hard to squeeze the thick frosting through. I use number 1 if I’m making details, like lettering or ghost eyes. I also like number 5 or 7 for the flood frosting. I like the flood to be easy to squeeze out since I use a lot of it at a time, but I don’t want it to squeeze out too fast with a bigger nozzle.
TIPS FOR MIXING COLORS
When you’re following the directions above, you’ll use one bowl for each color. This will make it easy to match your piping frosting to your flood icing. Just mix up a batch of pink piping frosting, for example, package half of that in a piping bag, then add water to the remaining pink frosting in your bowl to create your flood. Once you’ve got the consistency you like for your flood frosting, package that in a piping bag and you’re good to go!
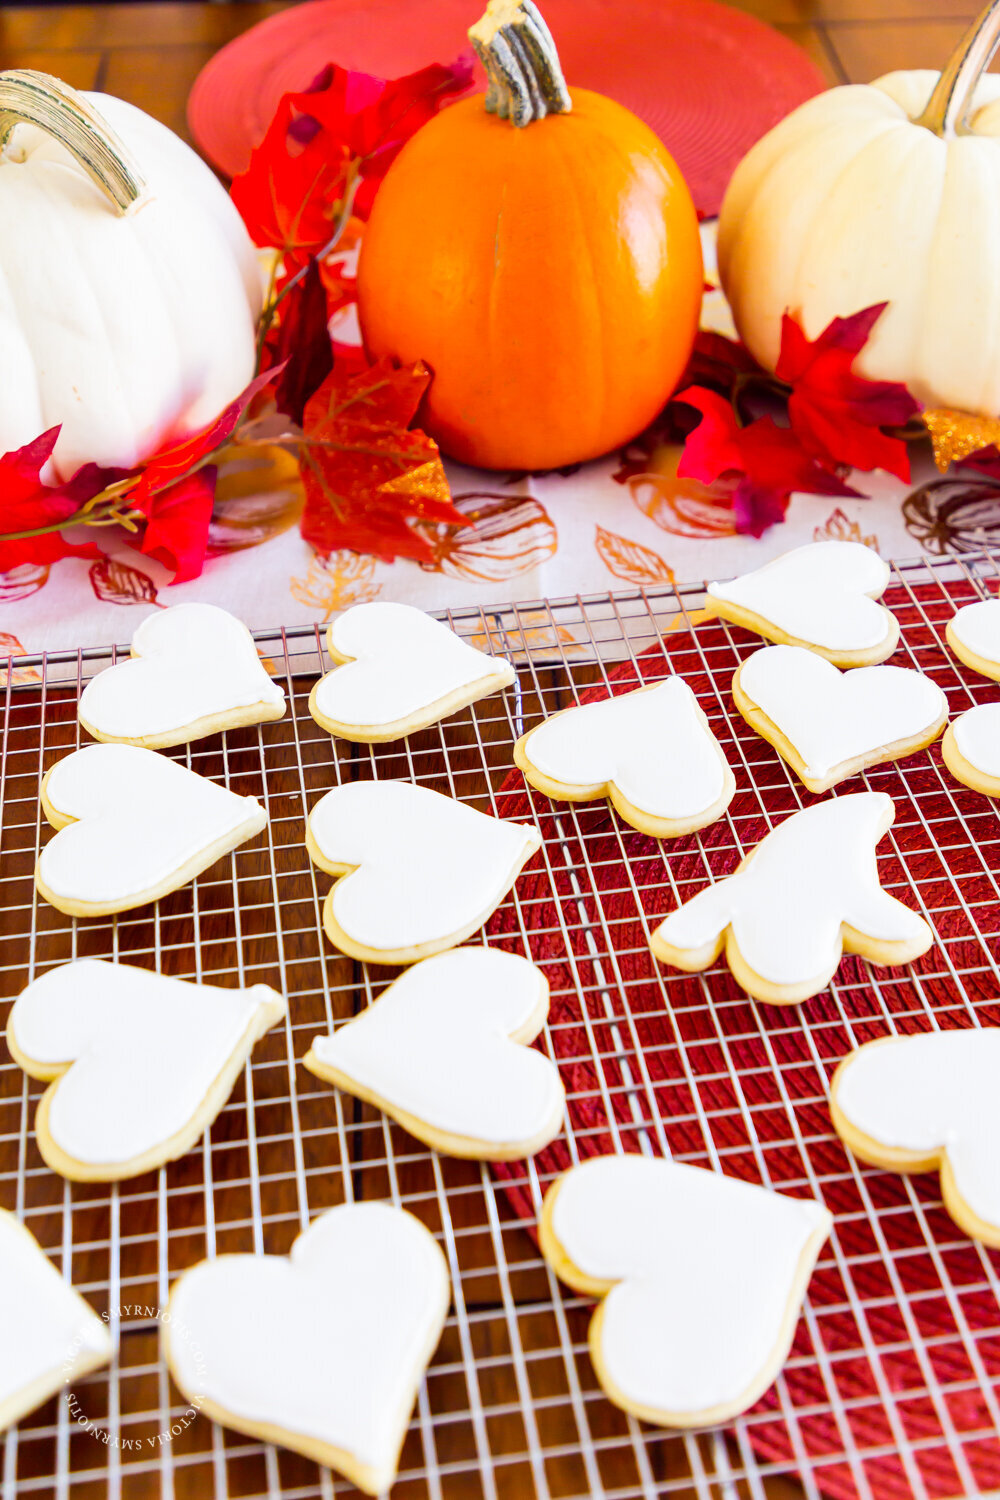
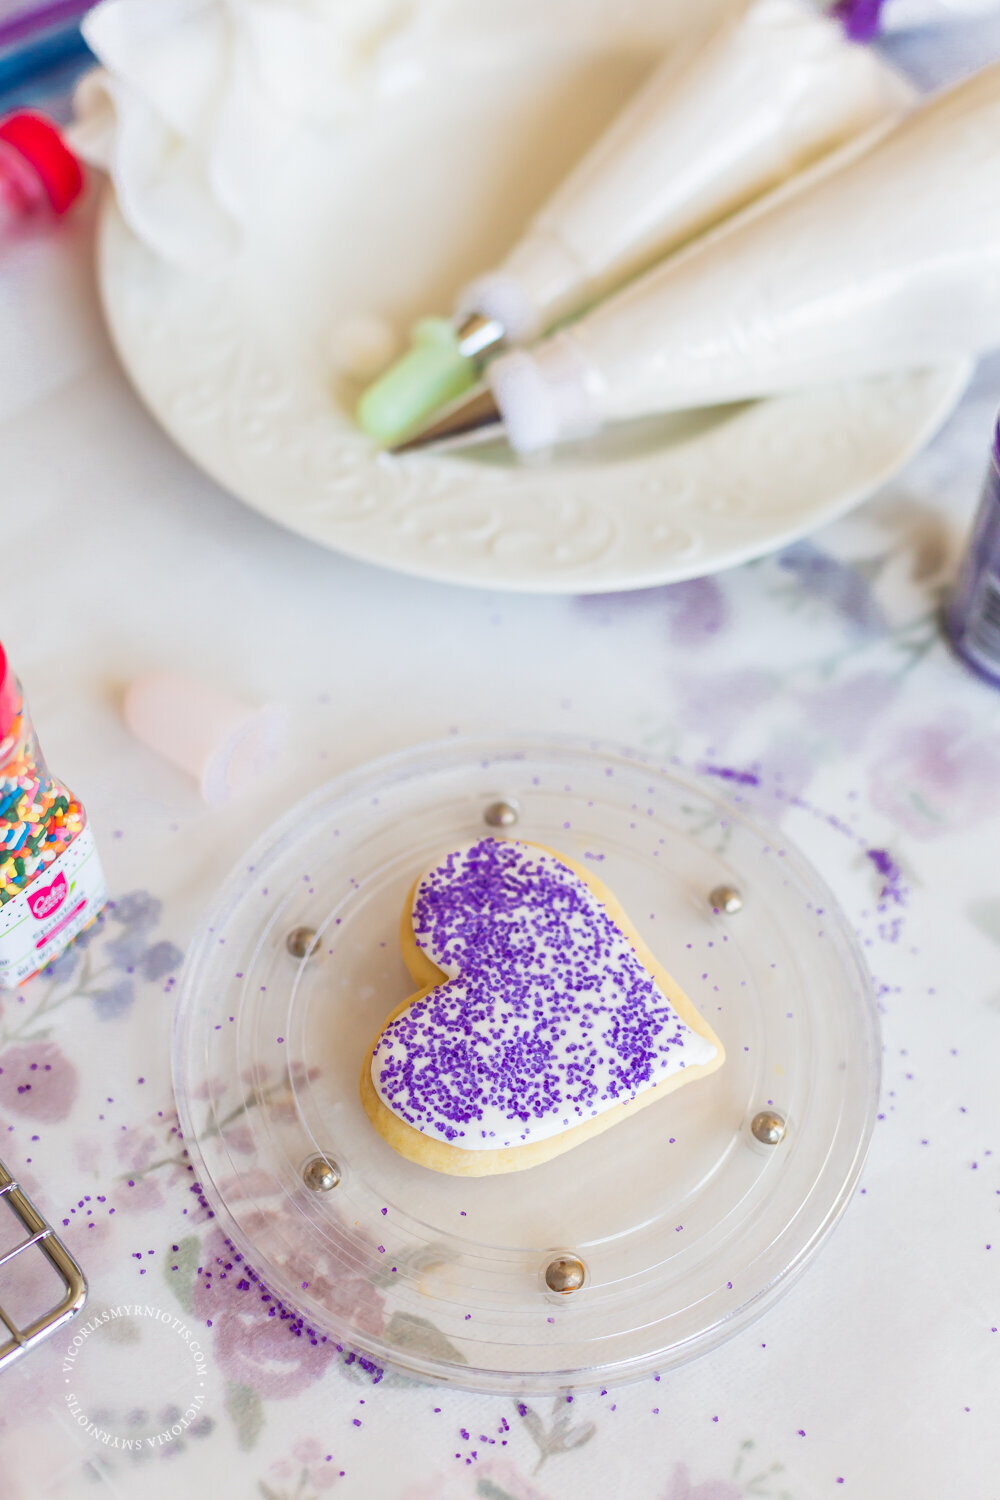
I know colors are really fun to work with for these types of cookies, and I do enjoy it when I have the time, but often my favorite thing to do is just to make white frosting and embellish the cookies with sprinkles, candy cane bits, edible ink, etc.


And now, all you have to do is frost your cookies!
*Tip: let your frosting sit for 30 minutes after you’ve mixed it. Wet a paper towel and drape it over the bowl, then cover it with foil. This will help keep the frosting from drying out. Waiting for 30 minutes will also help get the bubbles out of your frosting.
Also, if you have any dark colors like red or black, mix the color and let it sit for a while longer (maybe a few hours). The colors will become deeper the longer they sit out.
When icing your cookies, it’s helpful to have a little toothpick or baking tool to poke the bubbles as they come up to the surface. I don’t always have enough time to do this, but the icing does turn out better looking when I do.